3D Touch Peek and Pop 二三事
3D Touch 有一个 Peek and Pop 功能,简单的说就是用力按可以预览即将载入的 view controller,再按下去将其变为全屏。前几天给 Expense 实现了,在这里记录一下。
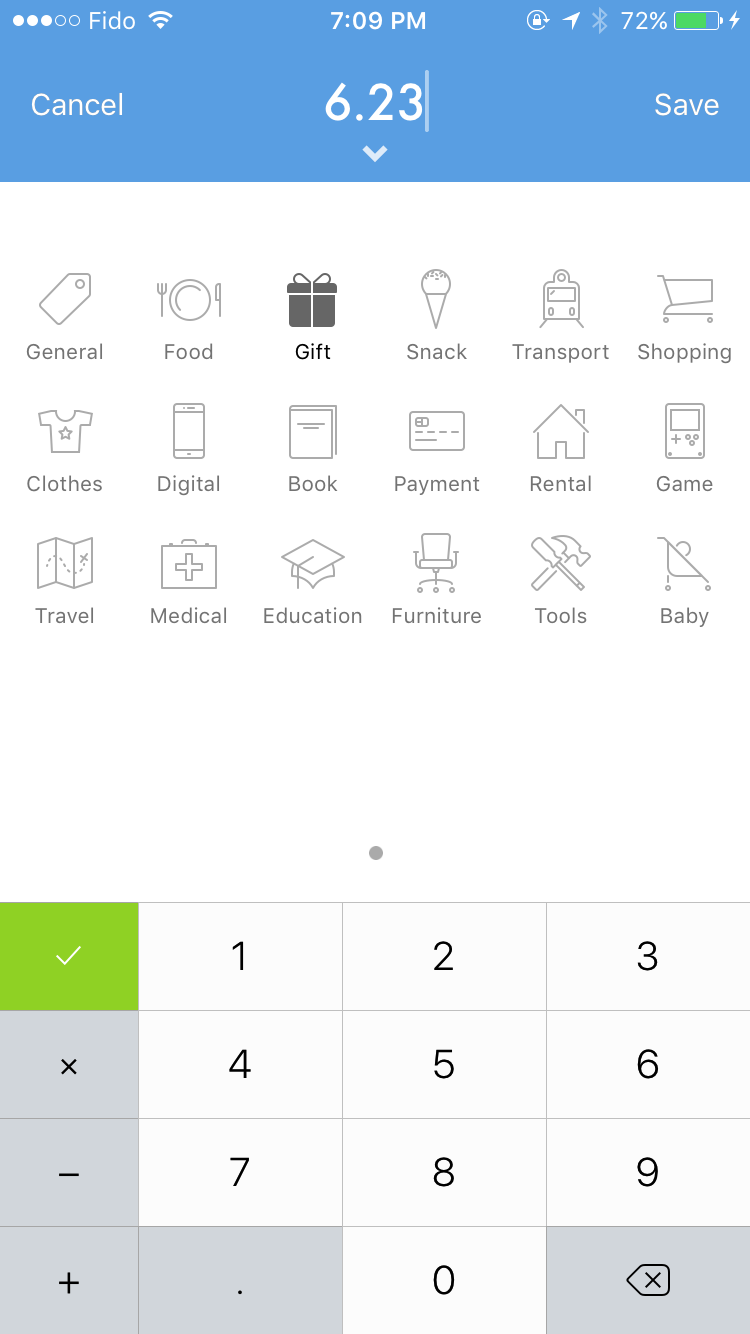
先来看一下 Expense 的效果:
典型的 Peek and Pop 在 peek 时载入 view controller,在 pop 时将 view controller push 到 navigation stack 中。这种 Peek and Pop 在两个阶段共享同一个 view controller,实现起来比较简单,可以参见 Little Bites of Cocoa 上的这篇文章。
而 Expense 希望在 pop 时将 view controller 作为 modal 弹出,这样就不能使用 showViewController:sender: 了(这个方法只能把 view controller 推入 navigation stack)。也就是说,要为 peek 和 pop 使用不同的 view controller。带来的额外好处是可以很简单地为 preview 使用完全不同的 UI。
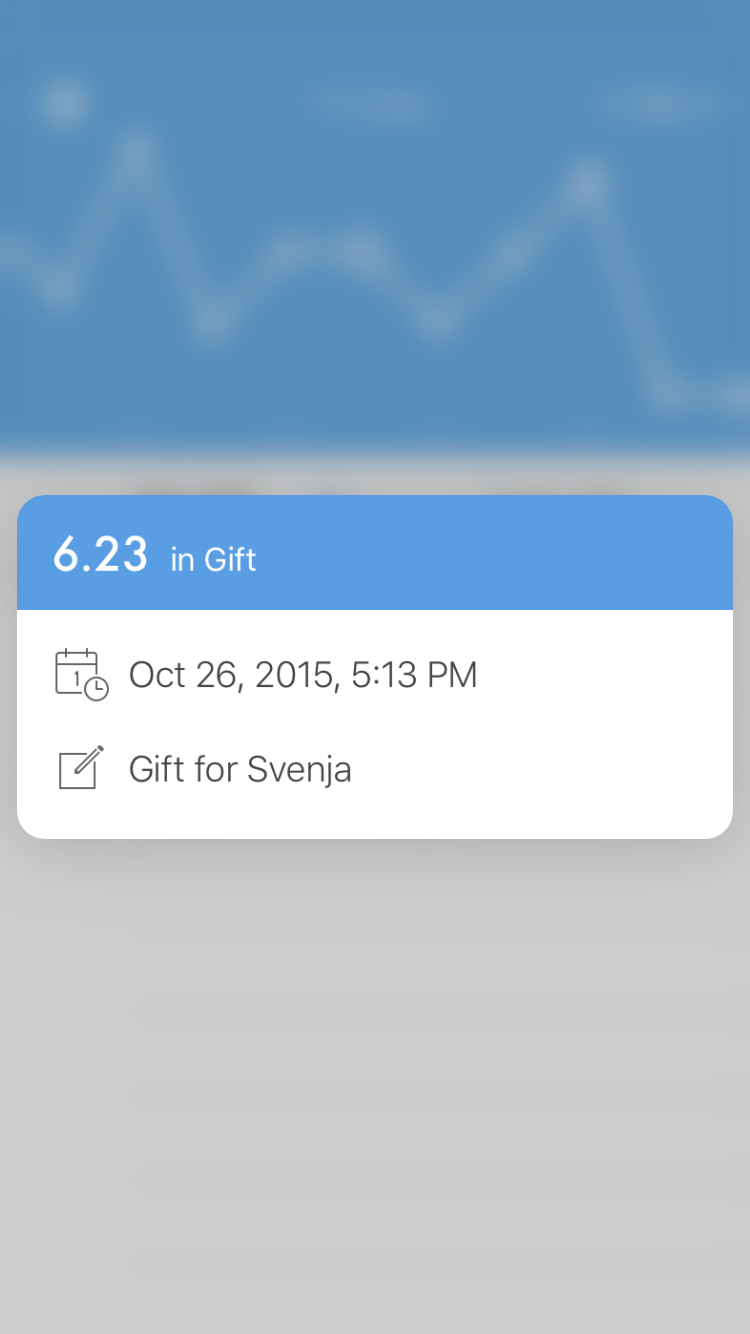
Expense 在 preview 阶段就用了完全不同的 UI:
实现起来也不复杂,首先将 table view 注册为支持 3D Touch:
[self registerForPreviewingWithDelegate:self sourceView:self.tableView];然后实现 UIViewControllerPreviewingDelegate 的两个方法就可以了:
#pragma mark - UIViewControllerPreviewingDelegate

- (UIViewController *)previewingContext:(id<UIViewControllerPreviewing>)previewingContext viewControllerForLocation:(CGPoint)location
{
    NSIndexPath *indexPath = [self.tableView indexPathForRowAtPoint:location];
    UITableViewCell *cell = [self.tableView cellForRowAtIndexPath:indexPath];
    if (!cell) {
        return nil;
    }
    // 保存 index path,在 performSegueWithIdentifier:sender: 里会用到
    self.previewingIndexPath = indexPath;

    TYKPreviewViewController *previewVC = [[TYKPreviewViewController alloc] initWithNibName:@"TYKPreviewViewController" bundle:nil];
    TYKTaiyaki *taiyaki = [self.fetchedResultsController objectAtIndexPath:indexPath];
    previewVC.taiyaki = taiyaki;
    previewVC.preferredContentSize = CGSizeMake(0, 180);
    previewingContext.sourceRect = cell.frame;

    return previewVC;
}

- (void)previewingContext:(id<UIViewControllerPreviewing>)previewingContext commitViewController:(UIViewController *)viewControllerToCommit
{
    // 在按下去后,用 performSegueWithIdentifier:sender: 弹出 view controller
    [self performSegueWithIdentifier:@"Edit" sender:self];
}
最后,Expense 真的,真的,快要发布了。:)